
How a Twin Cities Artist Makes Magical Ice Luminarias—And You Can, Too
Like a sprite spreading cheer upon a midnight clear, ice wrangler Jennifer Shea Hedberg crafts luminaria wonderlands—and teaches others to do the same. Her tools? Buckets, balloons, water and a little help from Old Man Winter.
As temperatures plunge and indigo twilight descends, Jennifer Shea Hedberg zips up her parka and steps outside. She crouches, and a candle flickers to life, illuminating a spherical ice lantern. Trapped inside the crystal ball, sprays of tiny bubbles burst like frozen fireworks.
A hot (or cold?) commodity for private parties and public celebrations in the Twin Cities, Hedberg’s creations glow with a fairy-tale feel that beckons on the darkest nights. Over the years, she has earned the name Ice Wrangler by lining walkways of the Minnesota Landscape Arboretum and the Middlemoon Creekwalk. She has constructed ice bars and wildly icicled thrones. She even decked all the indoor tables with ice at her daughter’s wedding last January.
“Lighting up the landscape with ice lanterns requires little more than a willingness to experiment and some basic knowledge of the logic of water and ice,” says Hedberg, author of Ice Luminary Magic. “It’s one way of stoking the cozy feeling the Danish call hygge.”
Hedberg’s fascination with luminarias began decades ago. After a family move from California to Massachusetts, her mother began making them to help her daughters embrace the joys of winter. Hedberg continued the tradition with her own three children and found herself hooked.
For simple shapes, she fills toy punching balloons, buckets, yogurt cups, Bundt pans, take-out lids and anything else that will flex without breaking as water expands while freezing. She floods cookie sheets to create slabs or shards, then props them into sculptures with “snice,” a slushy mix of water and snow. She clusters forms to create scenes that shimmer in sunshine or mimic the aurora borealis with color-changing LED lights.
The projects don’t always turn out just as expected. Gasses or trace minerals bubble into starbursts. Melting causes cracks, fissures and drips. Hedberg has learned, though, that light dances across those imperfections and transforms them: “It’s so freeing to think you can just have fun and not worry about what you’re making.”
She says her favorite time outdoors is predawn or twilight, when working with ice becomes an exercise in mindfulness. Each breath clouds her face. Snowflakes land gently on drifts. It’s just her and the ice, a world of blue and white—until she strikes a match.
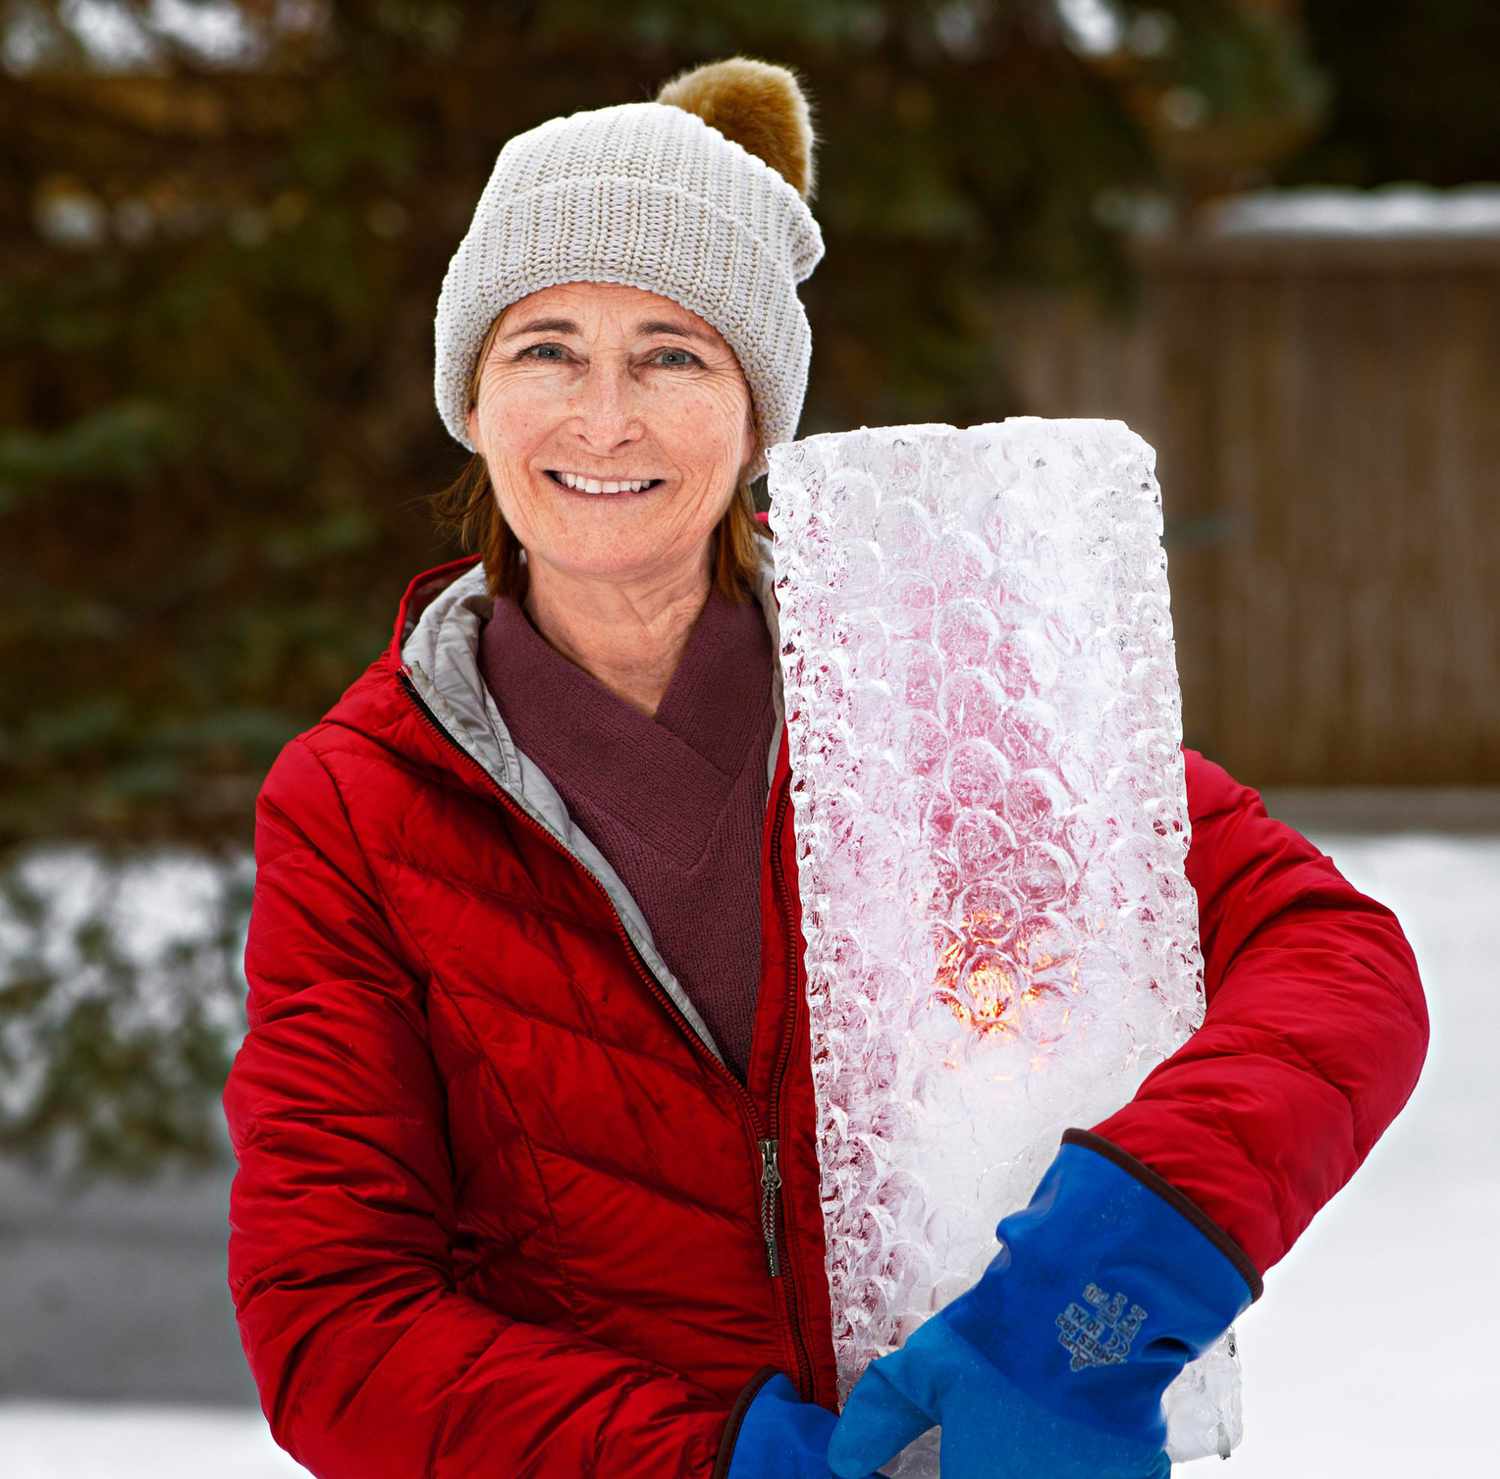
Project: Pipe Dreams
Skill level: Intermediate
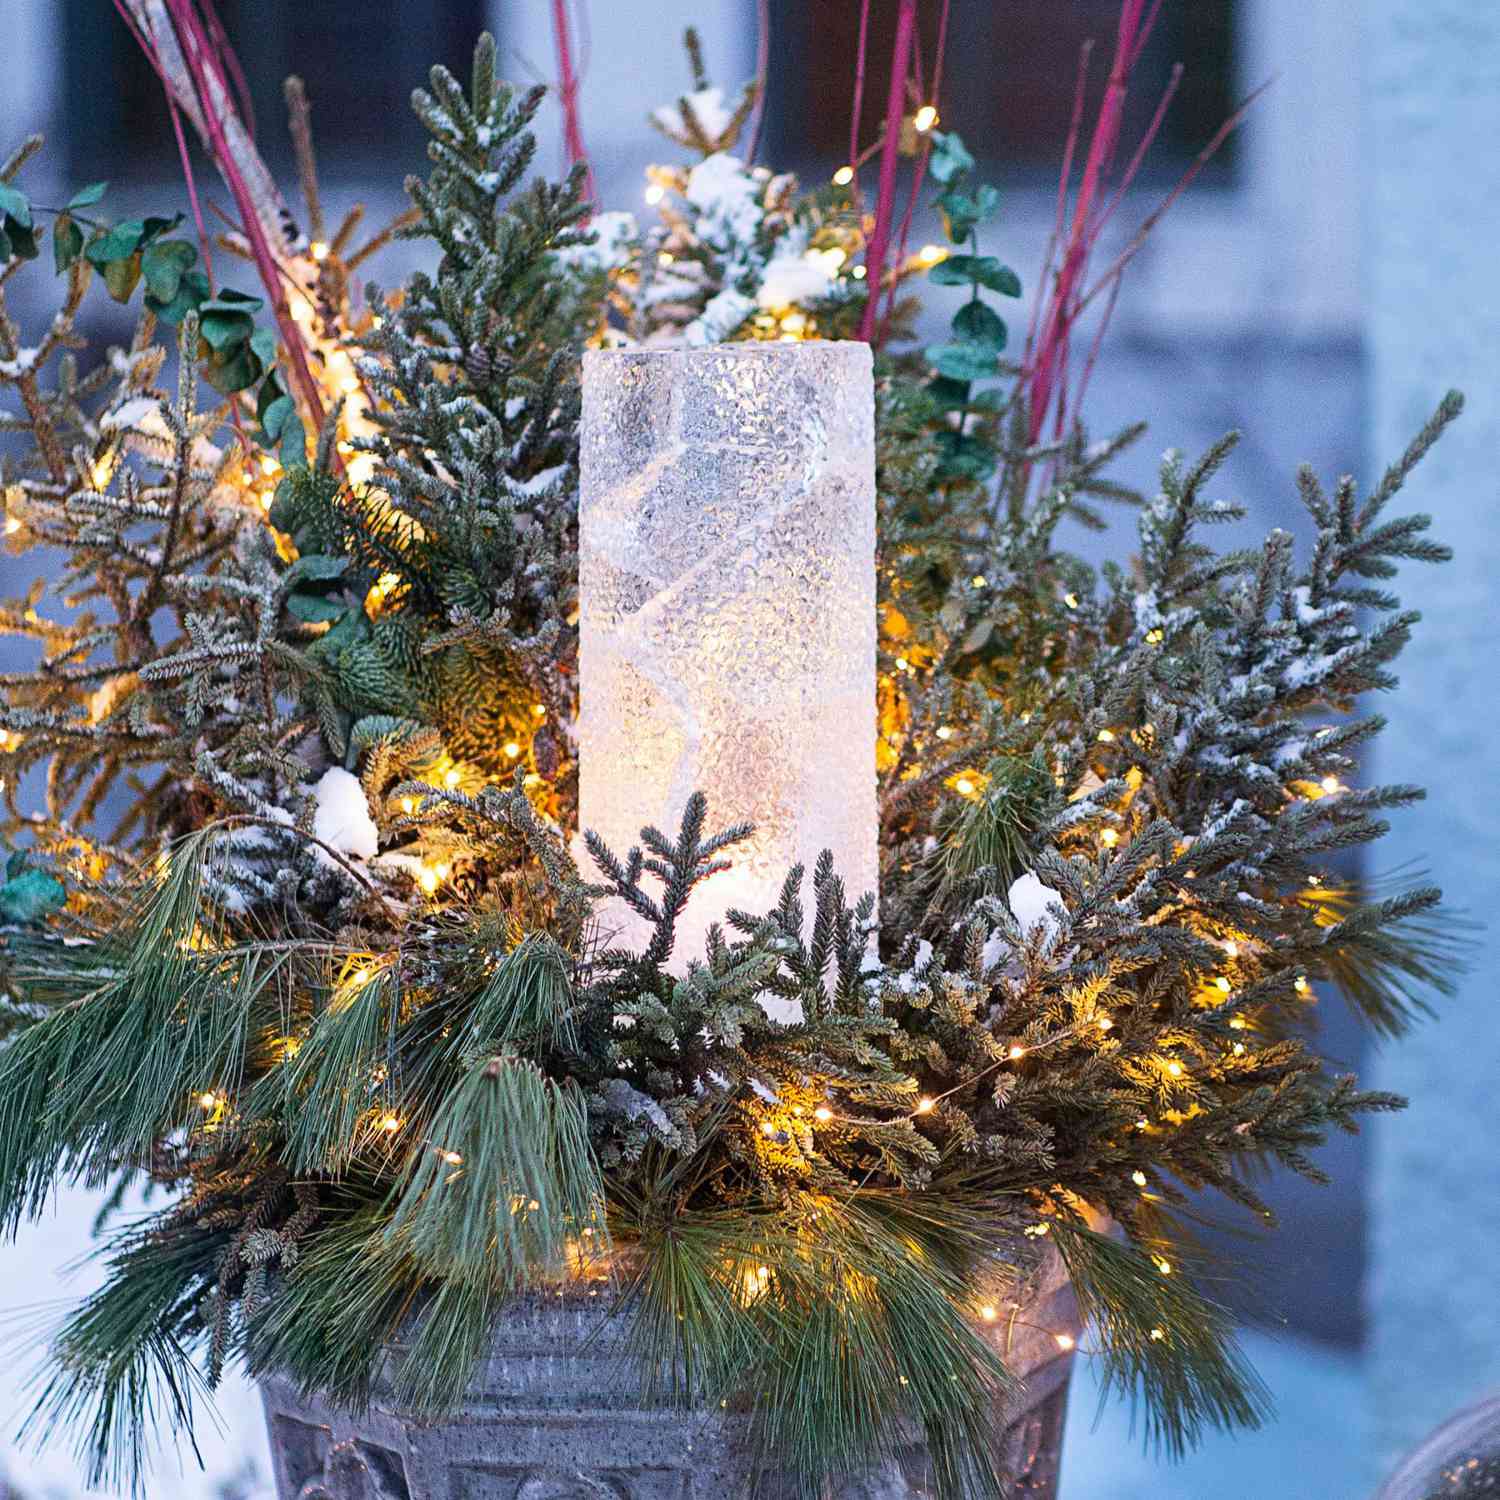
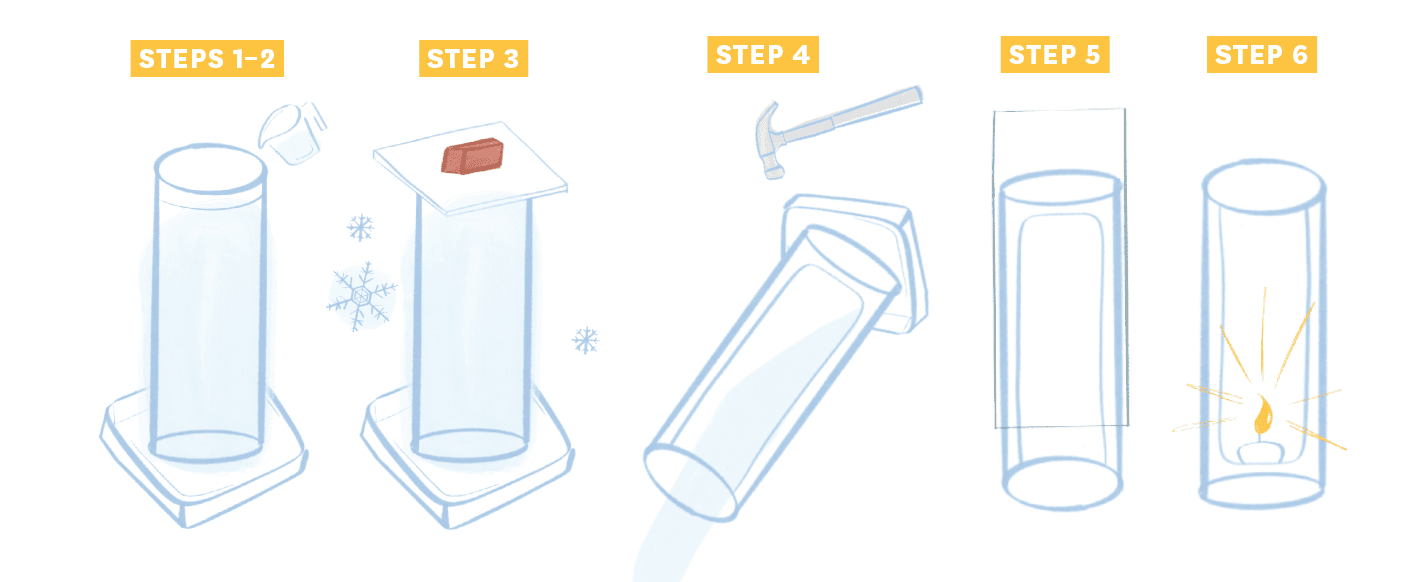
STEP 1 Stand a length of 6-inch-diameter PVC pipe in an 8×8-inch baking pan. Fill pan with an inch or two of water—inside and around pipe. Freeze solid. STEP 2 Add 1/2 cup water to the inside of the pipe to fill any gaps or cracks in the ice. Freeze for an hour or more. STEP 3 Add cold water to the pipe to desired height, leaving at least 2 inches at the top. Place a flat piece of foam on top of the pipe, weighed down with a rock so it doesn’t blow away. Freeze, checking regularly, until ice is 1–11/2 inches thick around the inside of the pipe, and water remains in middle (12 hours at 0° for a 24-inch pipe). STEP 4 Tip the pan into a sink to pour water from the luminaria’s unfrozen center, then run water over the baking pan until it can be removed. Use a hammer to gently break ice off the base outside the pipe. STEP 5 Let thaw until ice loosens from pipe, about 30 minutes. Push ice down with one hand while pulling pipe up with the other. STEP 6 Place luminaria over a clustered string of outdoor LED lights or flip over and light with a floating candle. (Tip: You don’t have to decorate the whole front yard. Nestle a single luminaria in a winter container as pictured above.)
VARIATION Secure small Bubble Wrap to the inside of the PVC pipe before filling to add a pattern to the outside of the luminaria (pictured above). Gently peel off after removing the luminaria from the PVC pipe.
Project: Beyond the Pail
Skill level: Beginner
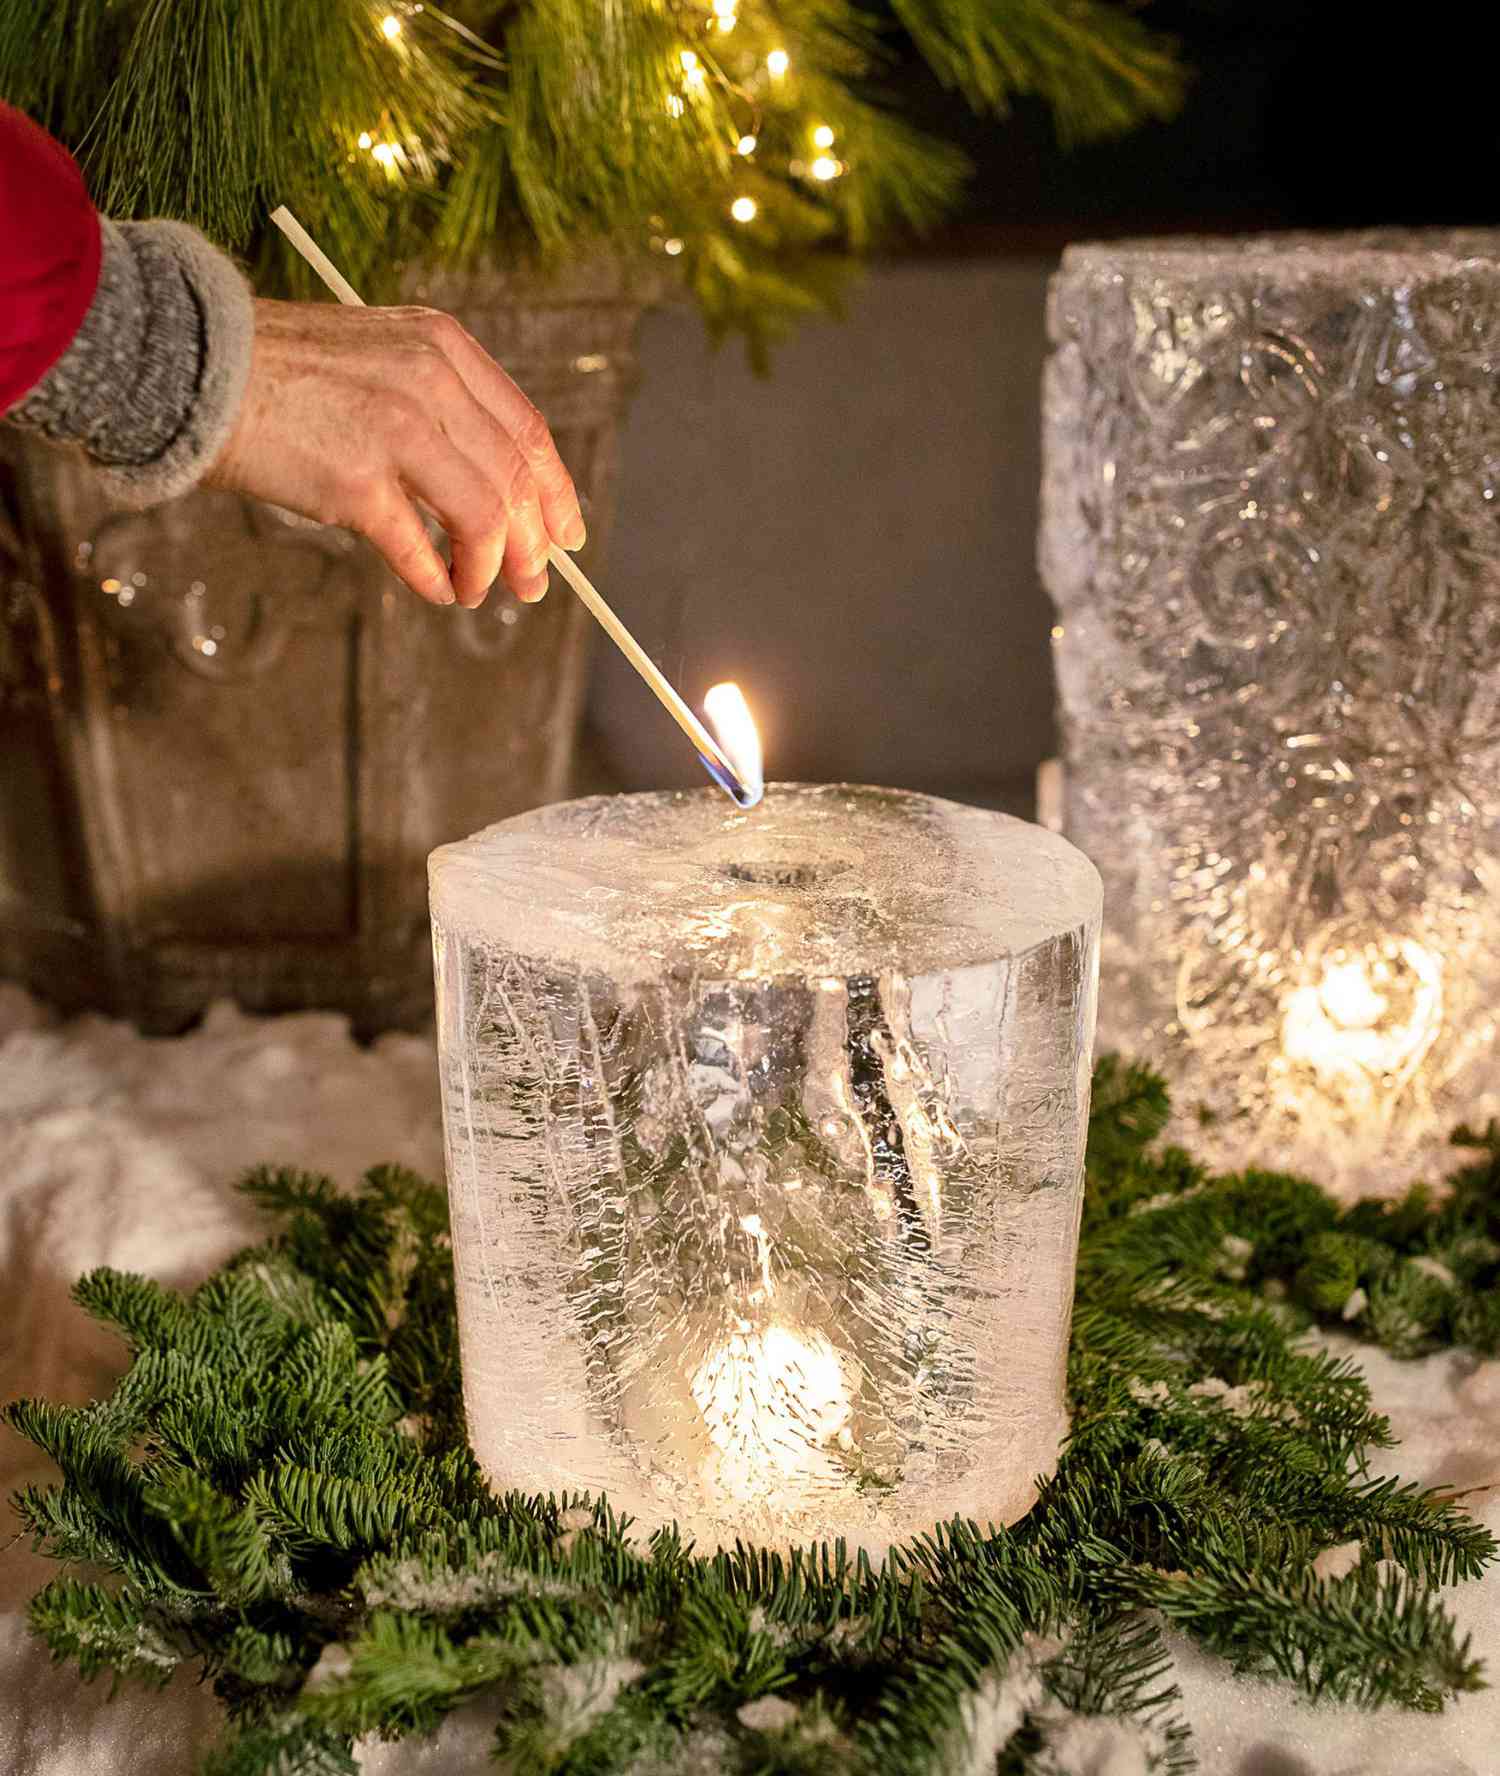
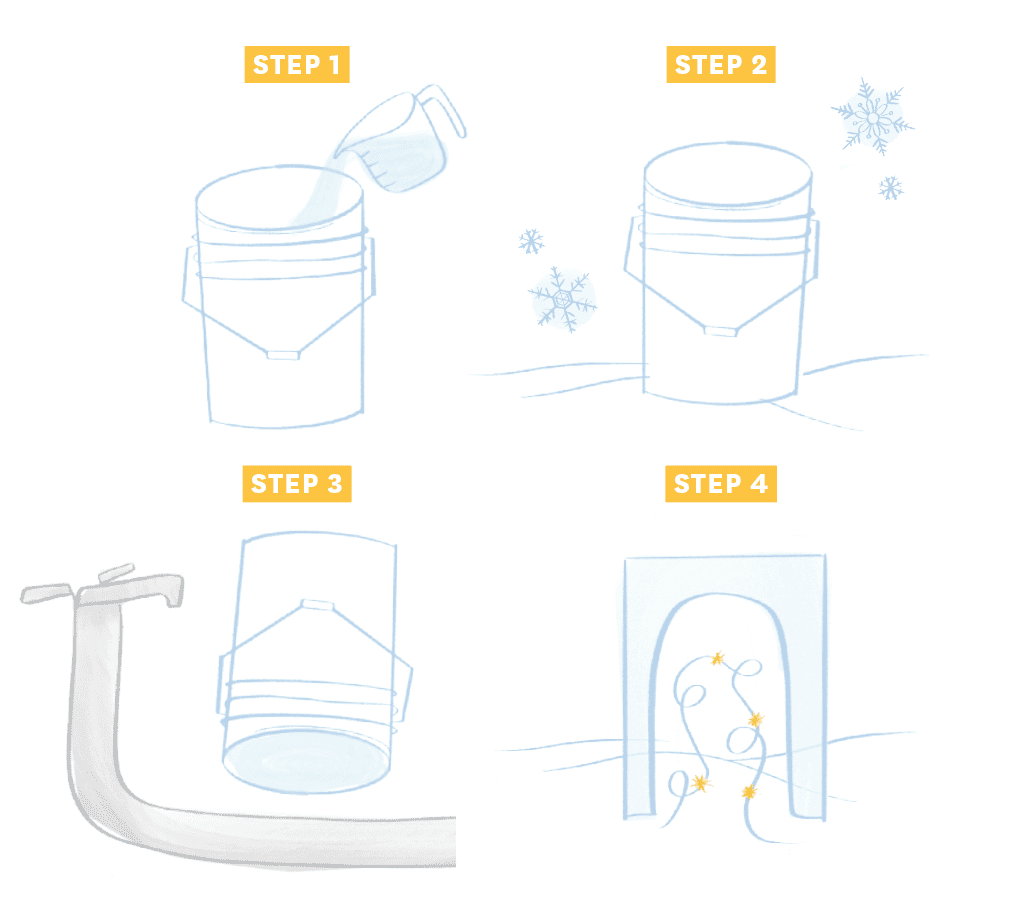
STEP 1 Fill a 5-gallon utility bucket with water, leaving 2 inches at the top. STEP 2 Place it on snow, frozen ground or foam, to keep bottom from freezing. Freeze until ice is 1 to 2 inches thick (about 24 hours at 0°). STEP 3 Invert bucket in a sink or bathtub. Let thaw for 15 to 30 minutes, then slide bucket off and pour out water. STEP 4 Place over a clustered string of outdoor LED lights or flip over and light with a floating candle.
VARIATION For wind protection, keep luminaria right side up and drill a chimney hole through the solid top. Place over candle (pictured in illustration). Melting ice should drip down sides, not onto candle.
Project: Global Power
Skill level: Beginner
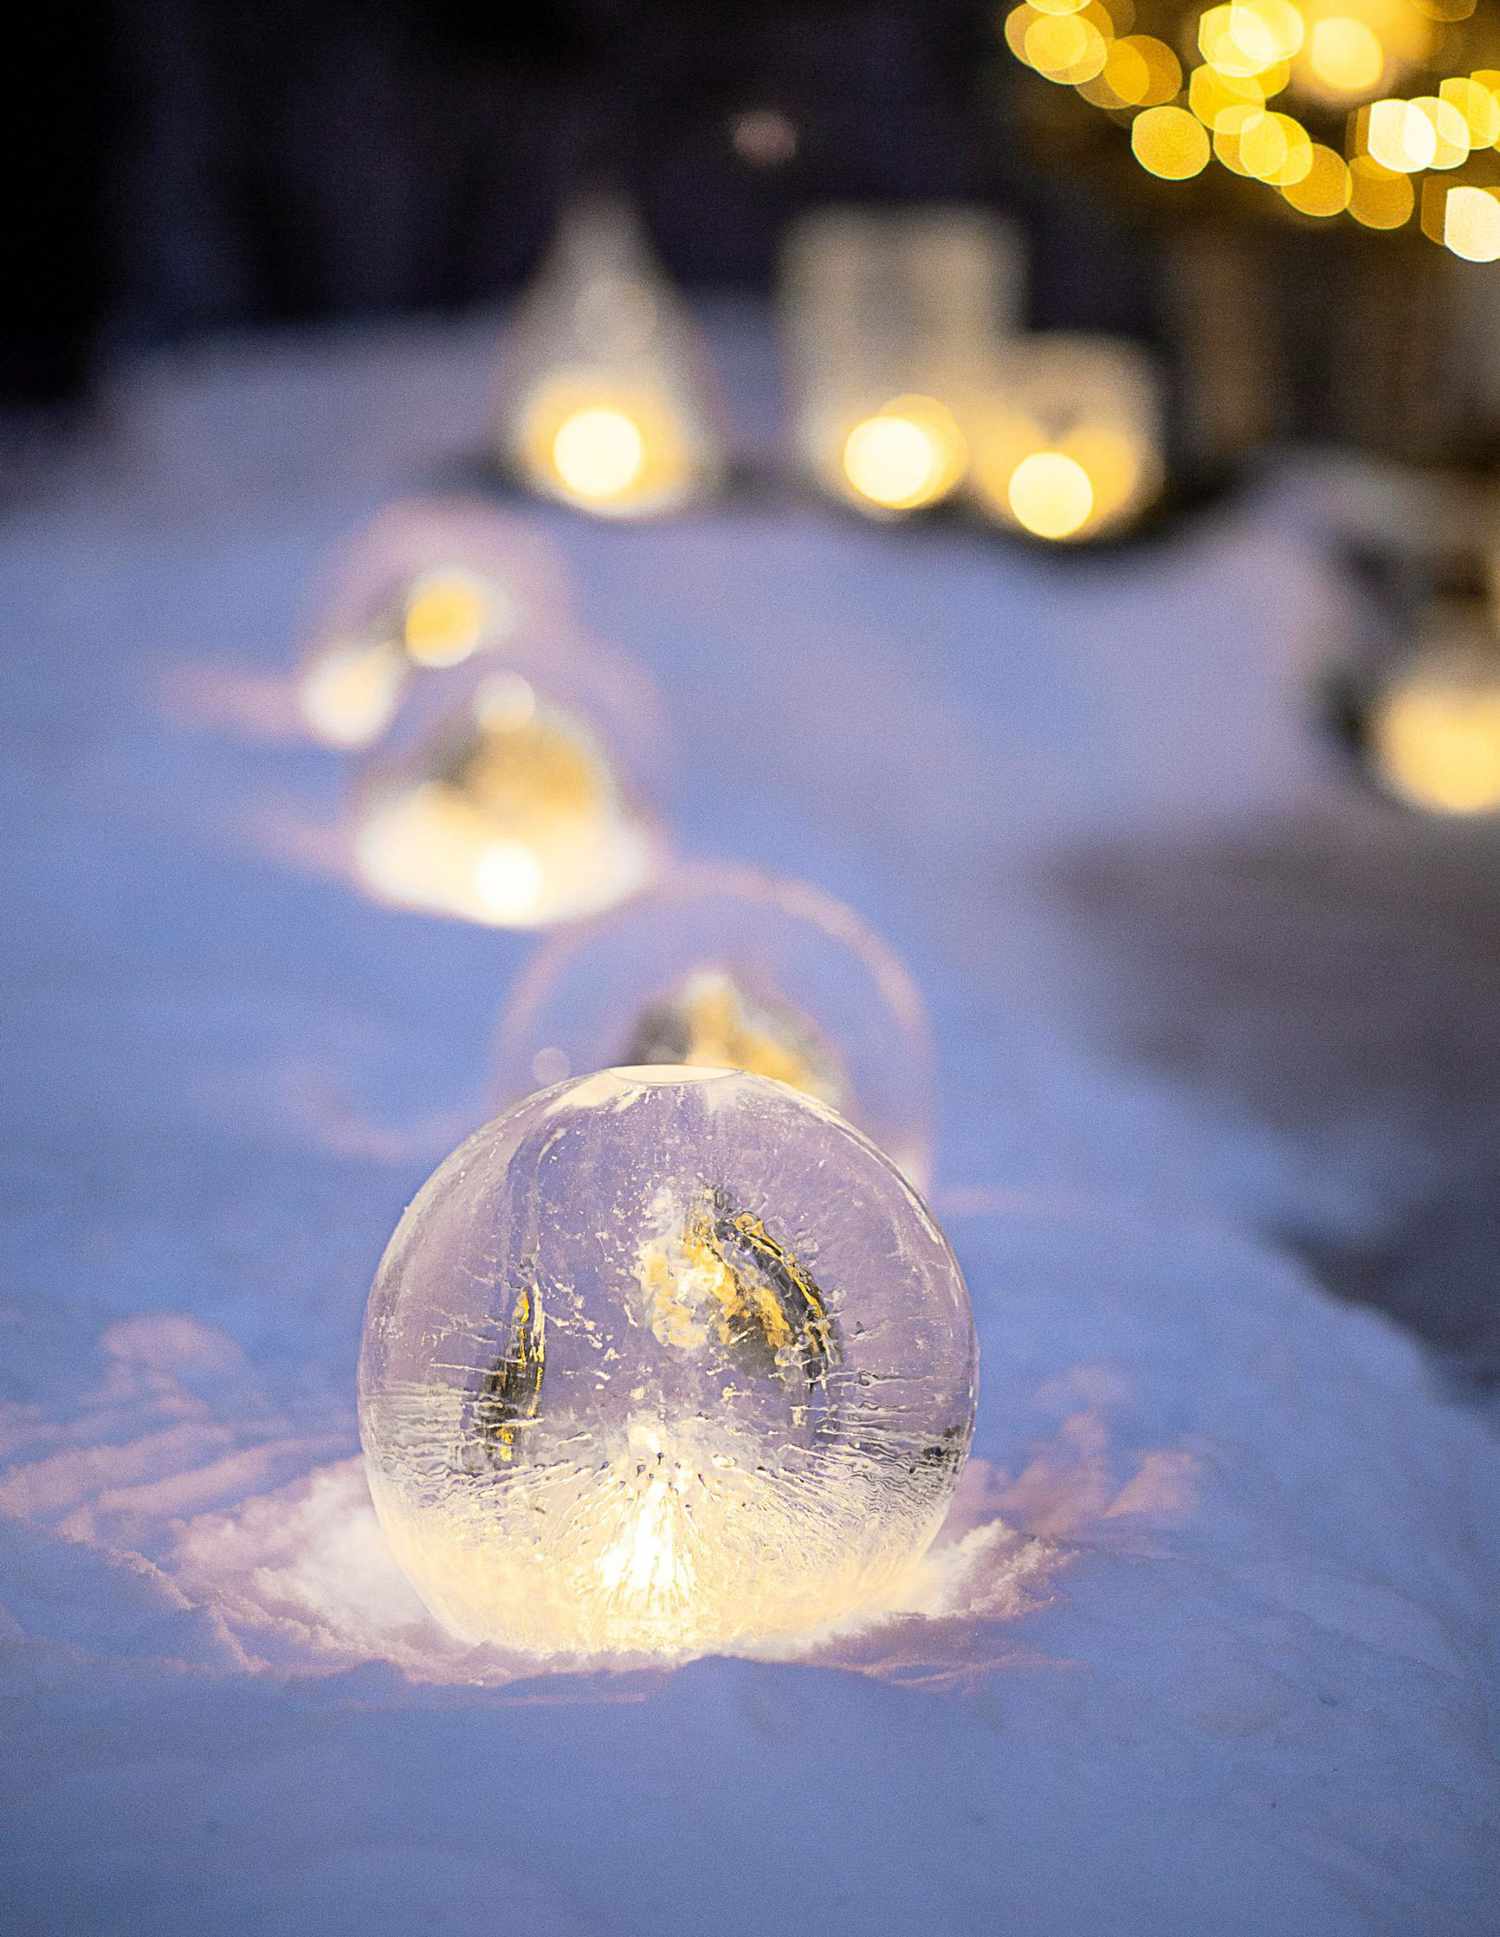
STEP 1 Fill a punching balloon (the kind with a rubber band) with water. Knot or clip it closed, getting out as much air as possible, since extra air can cause a flat spot on top of the globe. STEP 2 Set in a shallow round dish (like a dog bowl). Set dish on the ground, snow or a piece of foam to keep bottom from freezing. Freeze until balloon feels frozen solid on the outside, but open or slushy on the unfrozen bottom (14 to 24 hours at 0°). STEP 3 Snip away balloon with scissors. Water should gush out. STEP 4 Turn luminaria over, then light with a floating candle or place over a string of outdoor LED lights. (Tip: Hedberg sells kits with all the gear to make this luminaria, including a perfectly shaped base to set the balloon in.)
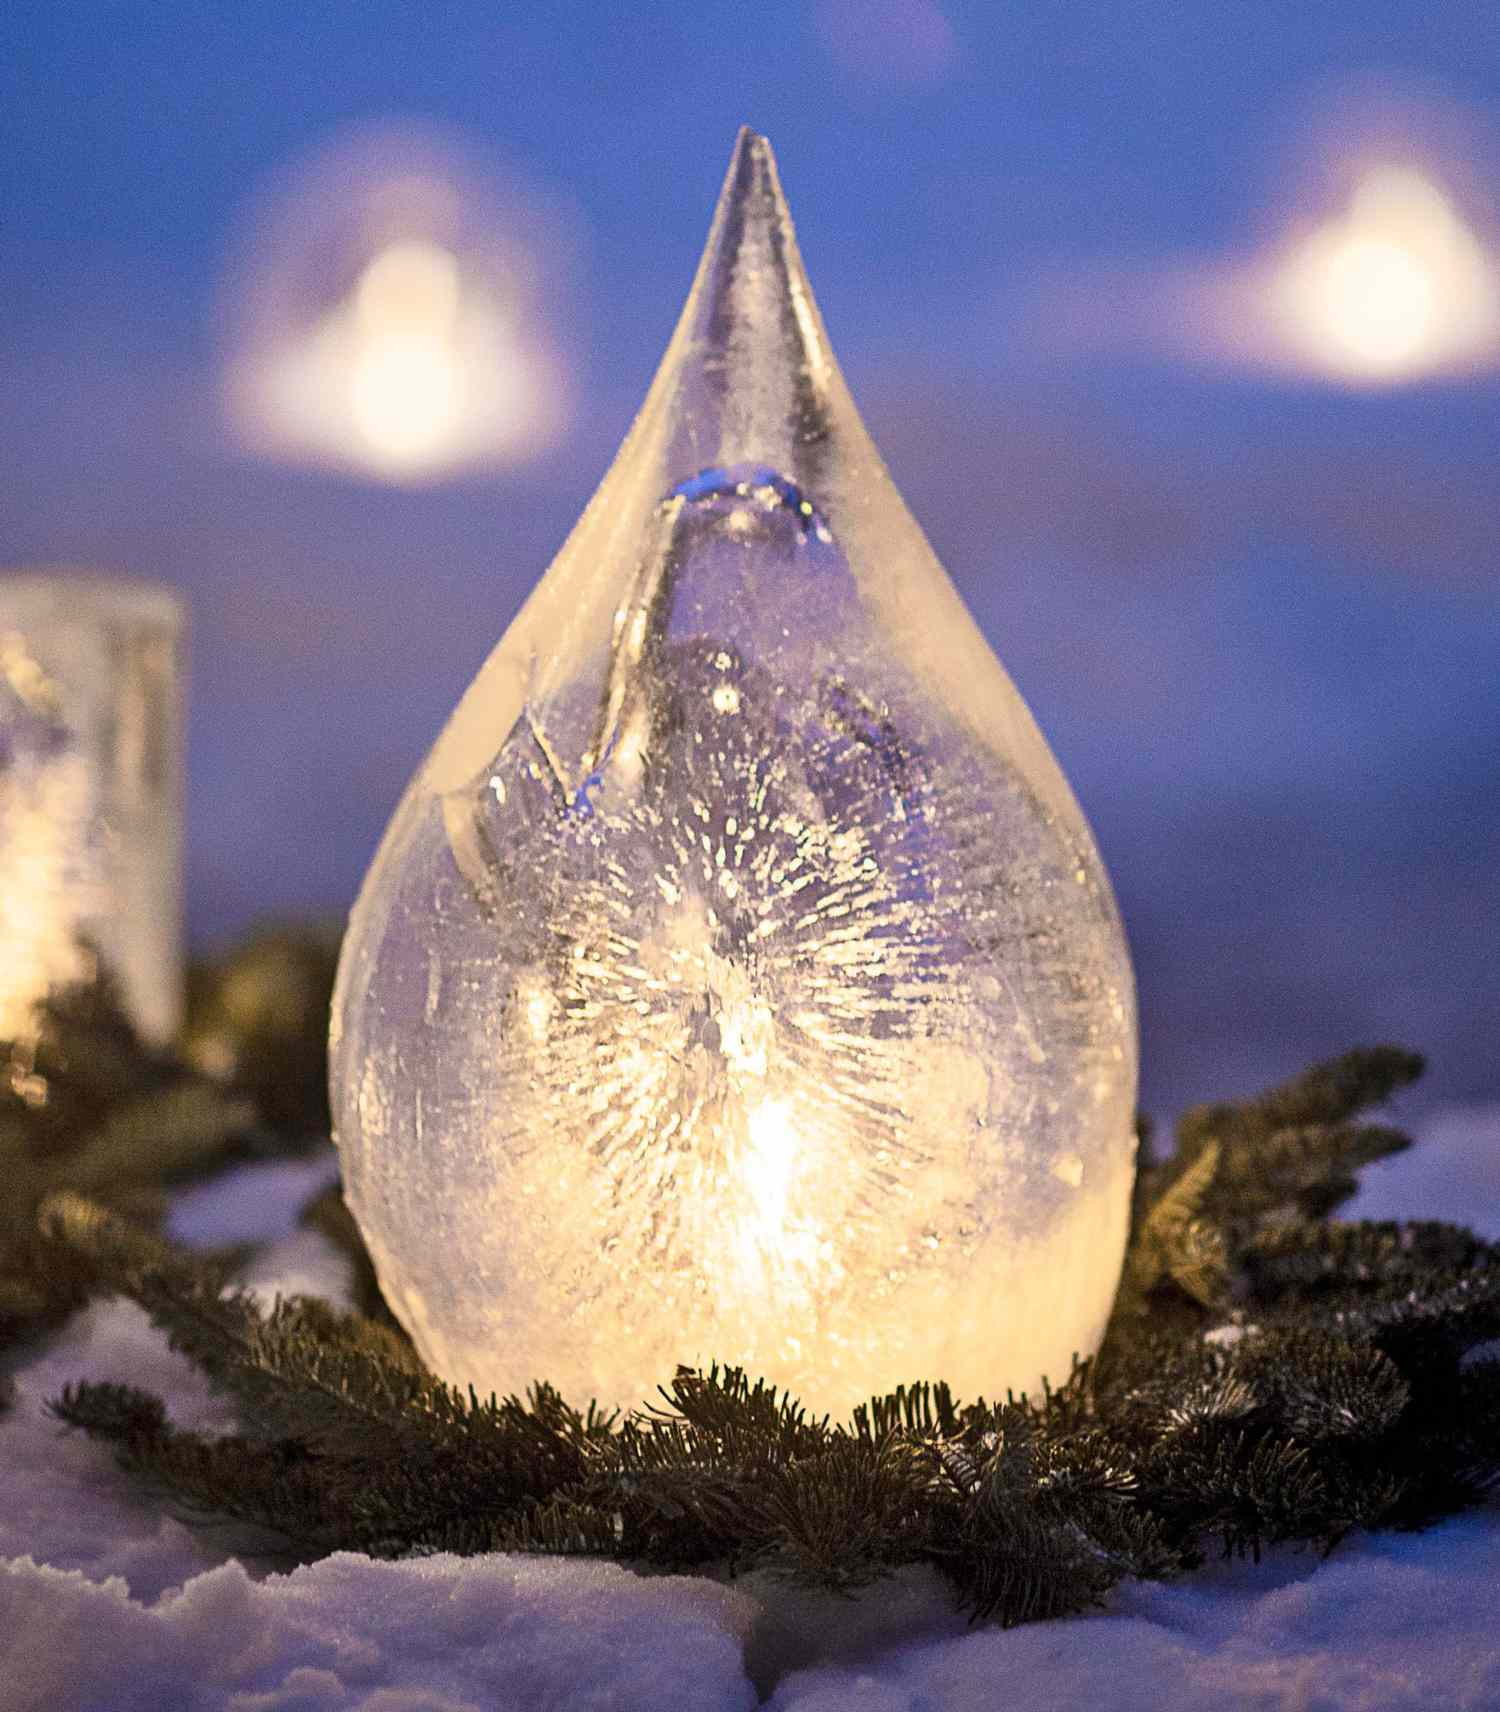
VARIATION Secure the filled balloon to a rod suspended between two utility buckets or outdoor chairs. Allow balloon to touch ground or snow beneath. The weight of water will create a teardrop shape (pictured below). When frozen, stuff LED lights in bottom and position point-up in the snow.

Good to Know
As DIY goes, the skills, gear and hands-on time for these luminarias are minimal. But keep these basics in mind.
HOW LONG DO ICE LUMINARIAS TAKE TO FREEZE? Nature works in mysterious ways. Factors like the size of the vessel, its material and outdoor conditions all impact freeze time. At 0°, a 32-ounce yogurt tub takes 8 hours, a 5-gallon bucket 24. Just remember: You have to remove ice from its container before it freezes solid, leaving a cavity for illumination, so check sooner rather than later.
CAN I GUARANTEE CLEAR ICE? Not really. Bubbles and patterns add to the beauty. But Hedberg says distilled water freezes clearest, followed by hard water from the hose or a laundry tub. Softened water may look cloudy when it freezes.
CAN I TINT THE WATER? Yes, you can dye the water with food coloring, but it may stain decks or patios as the ice melts. (Colored LED lights are less messy.)
WHAT IF I DON’T LIVE IN SUCH A COLD PLACE? Big projects are best-suited to the Midwest’s upper latitudes, but you can make small ones in yogurt cups in the freezer—like tea-light lanterns for a porch railing.
HOW LONG DO LUMINARIAS LAST? It depends on their size and the weather, of course. But one no-brainer: Shade them for longer life.
Learn More
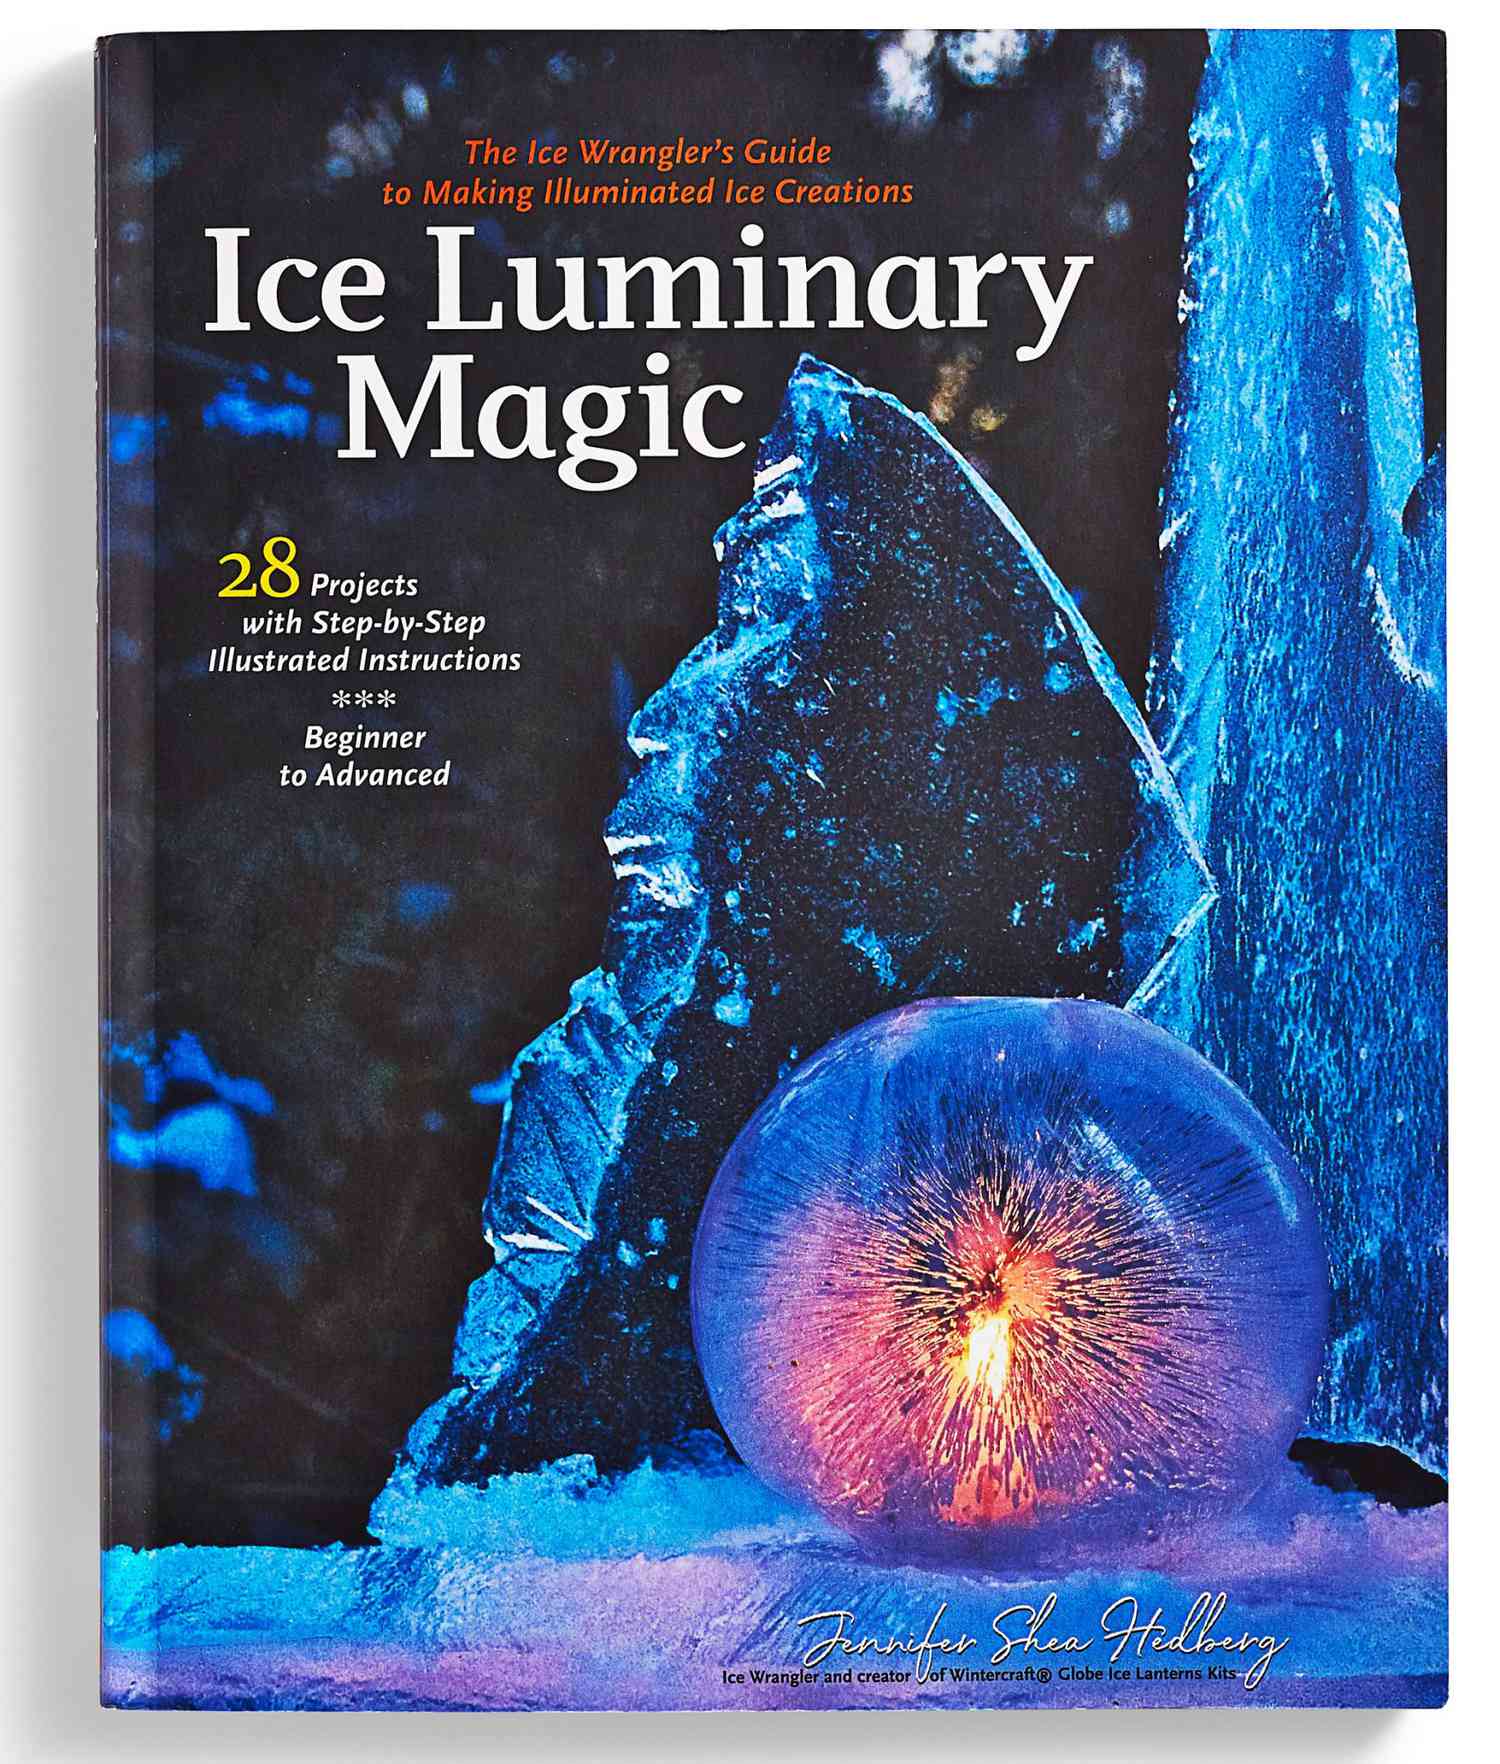
The project guide we’ve shared here is the tip of, well, you know. For a wealth of inspiration and science, check out Ice Luminary Magic ($30). You’ll find more detailed instructions for 28 projects, plus insights on freeze times and temperatures. Hedberg also sells kits to make her signature ice globe lanterns (from $20). Find it all at wintercraft.com.
